How to create a clean water alley, Part 5

While the concrete cured, the crew focused on several elements as illustrated in the following photographs

Refining grade elevations for the bio-swale.
Prepping the wall for paint.
Using a roller prevents overspray into adjacent properties

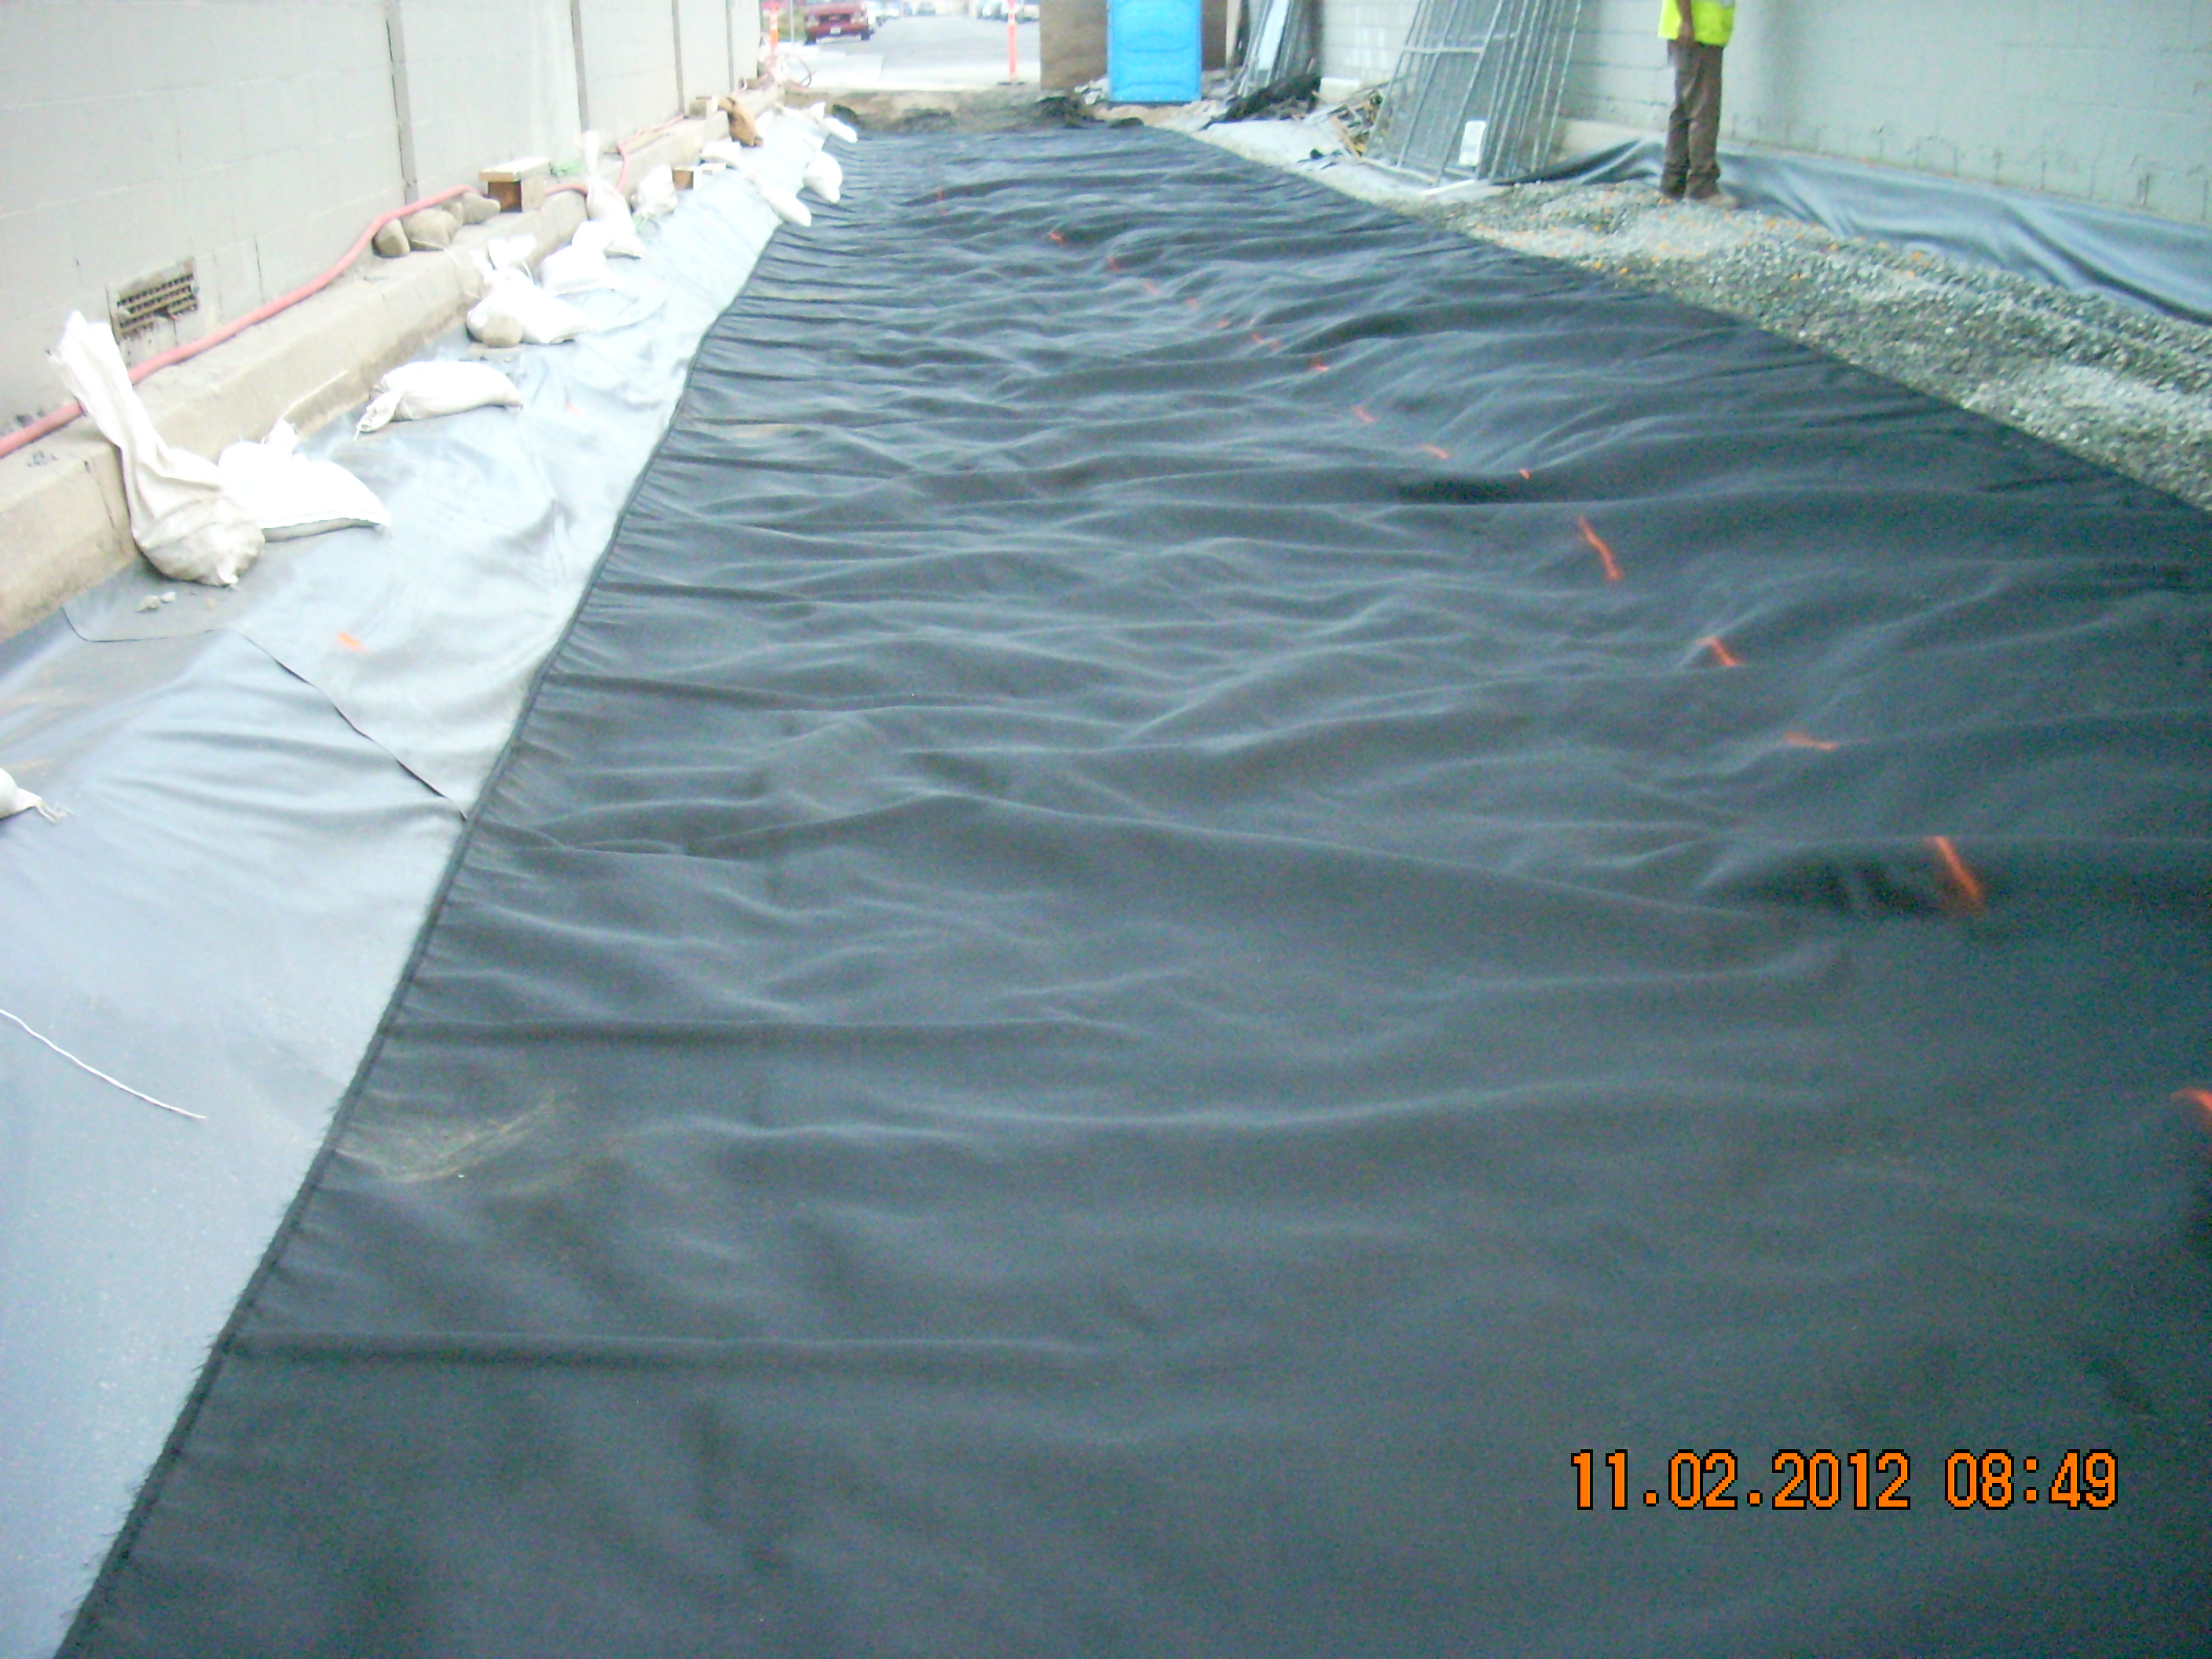
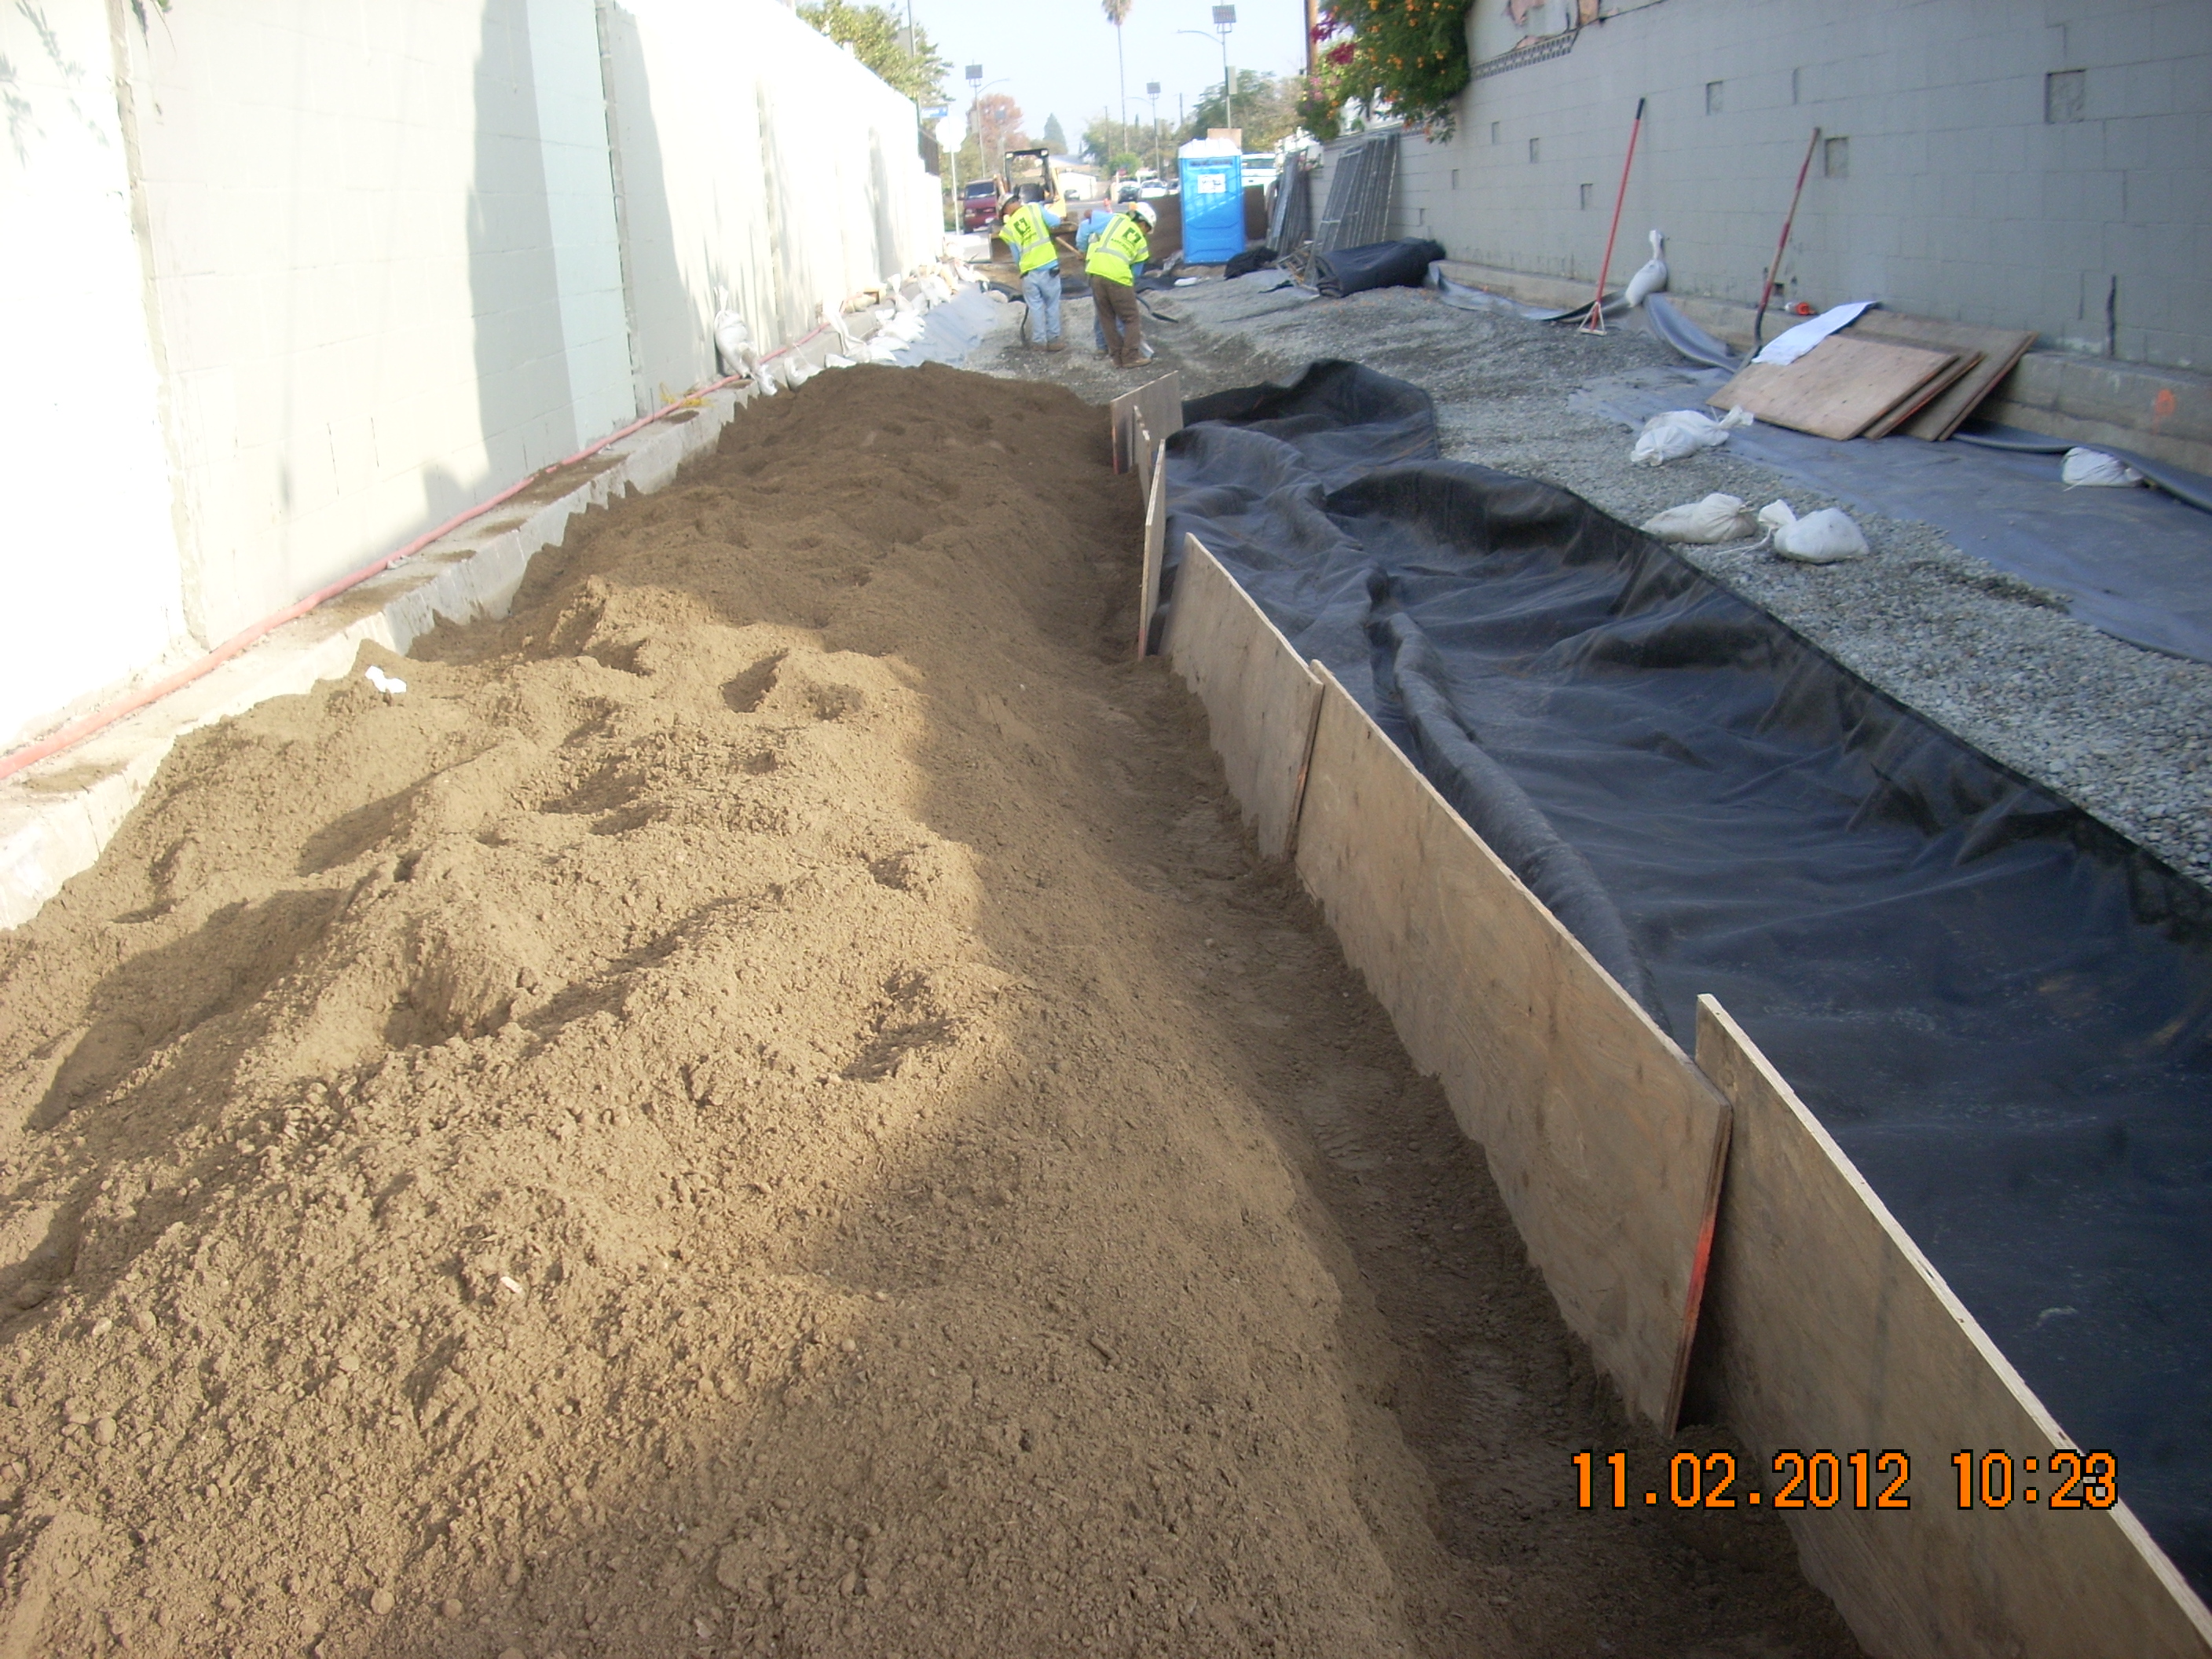
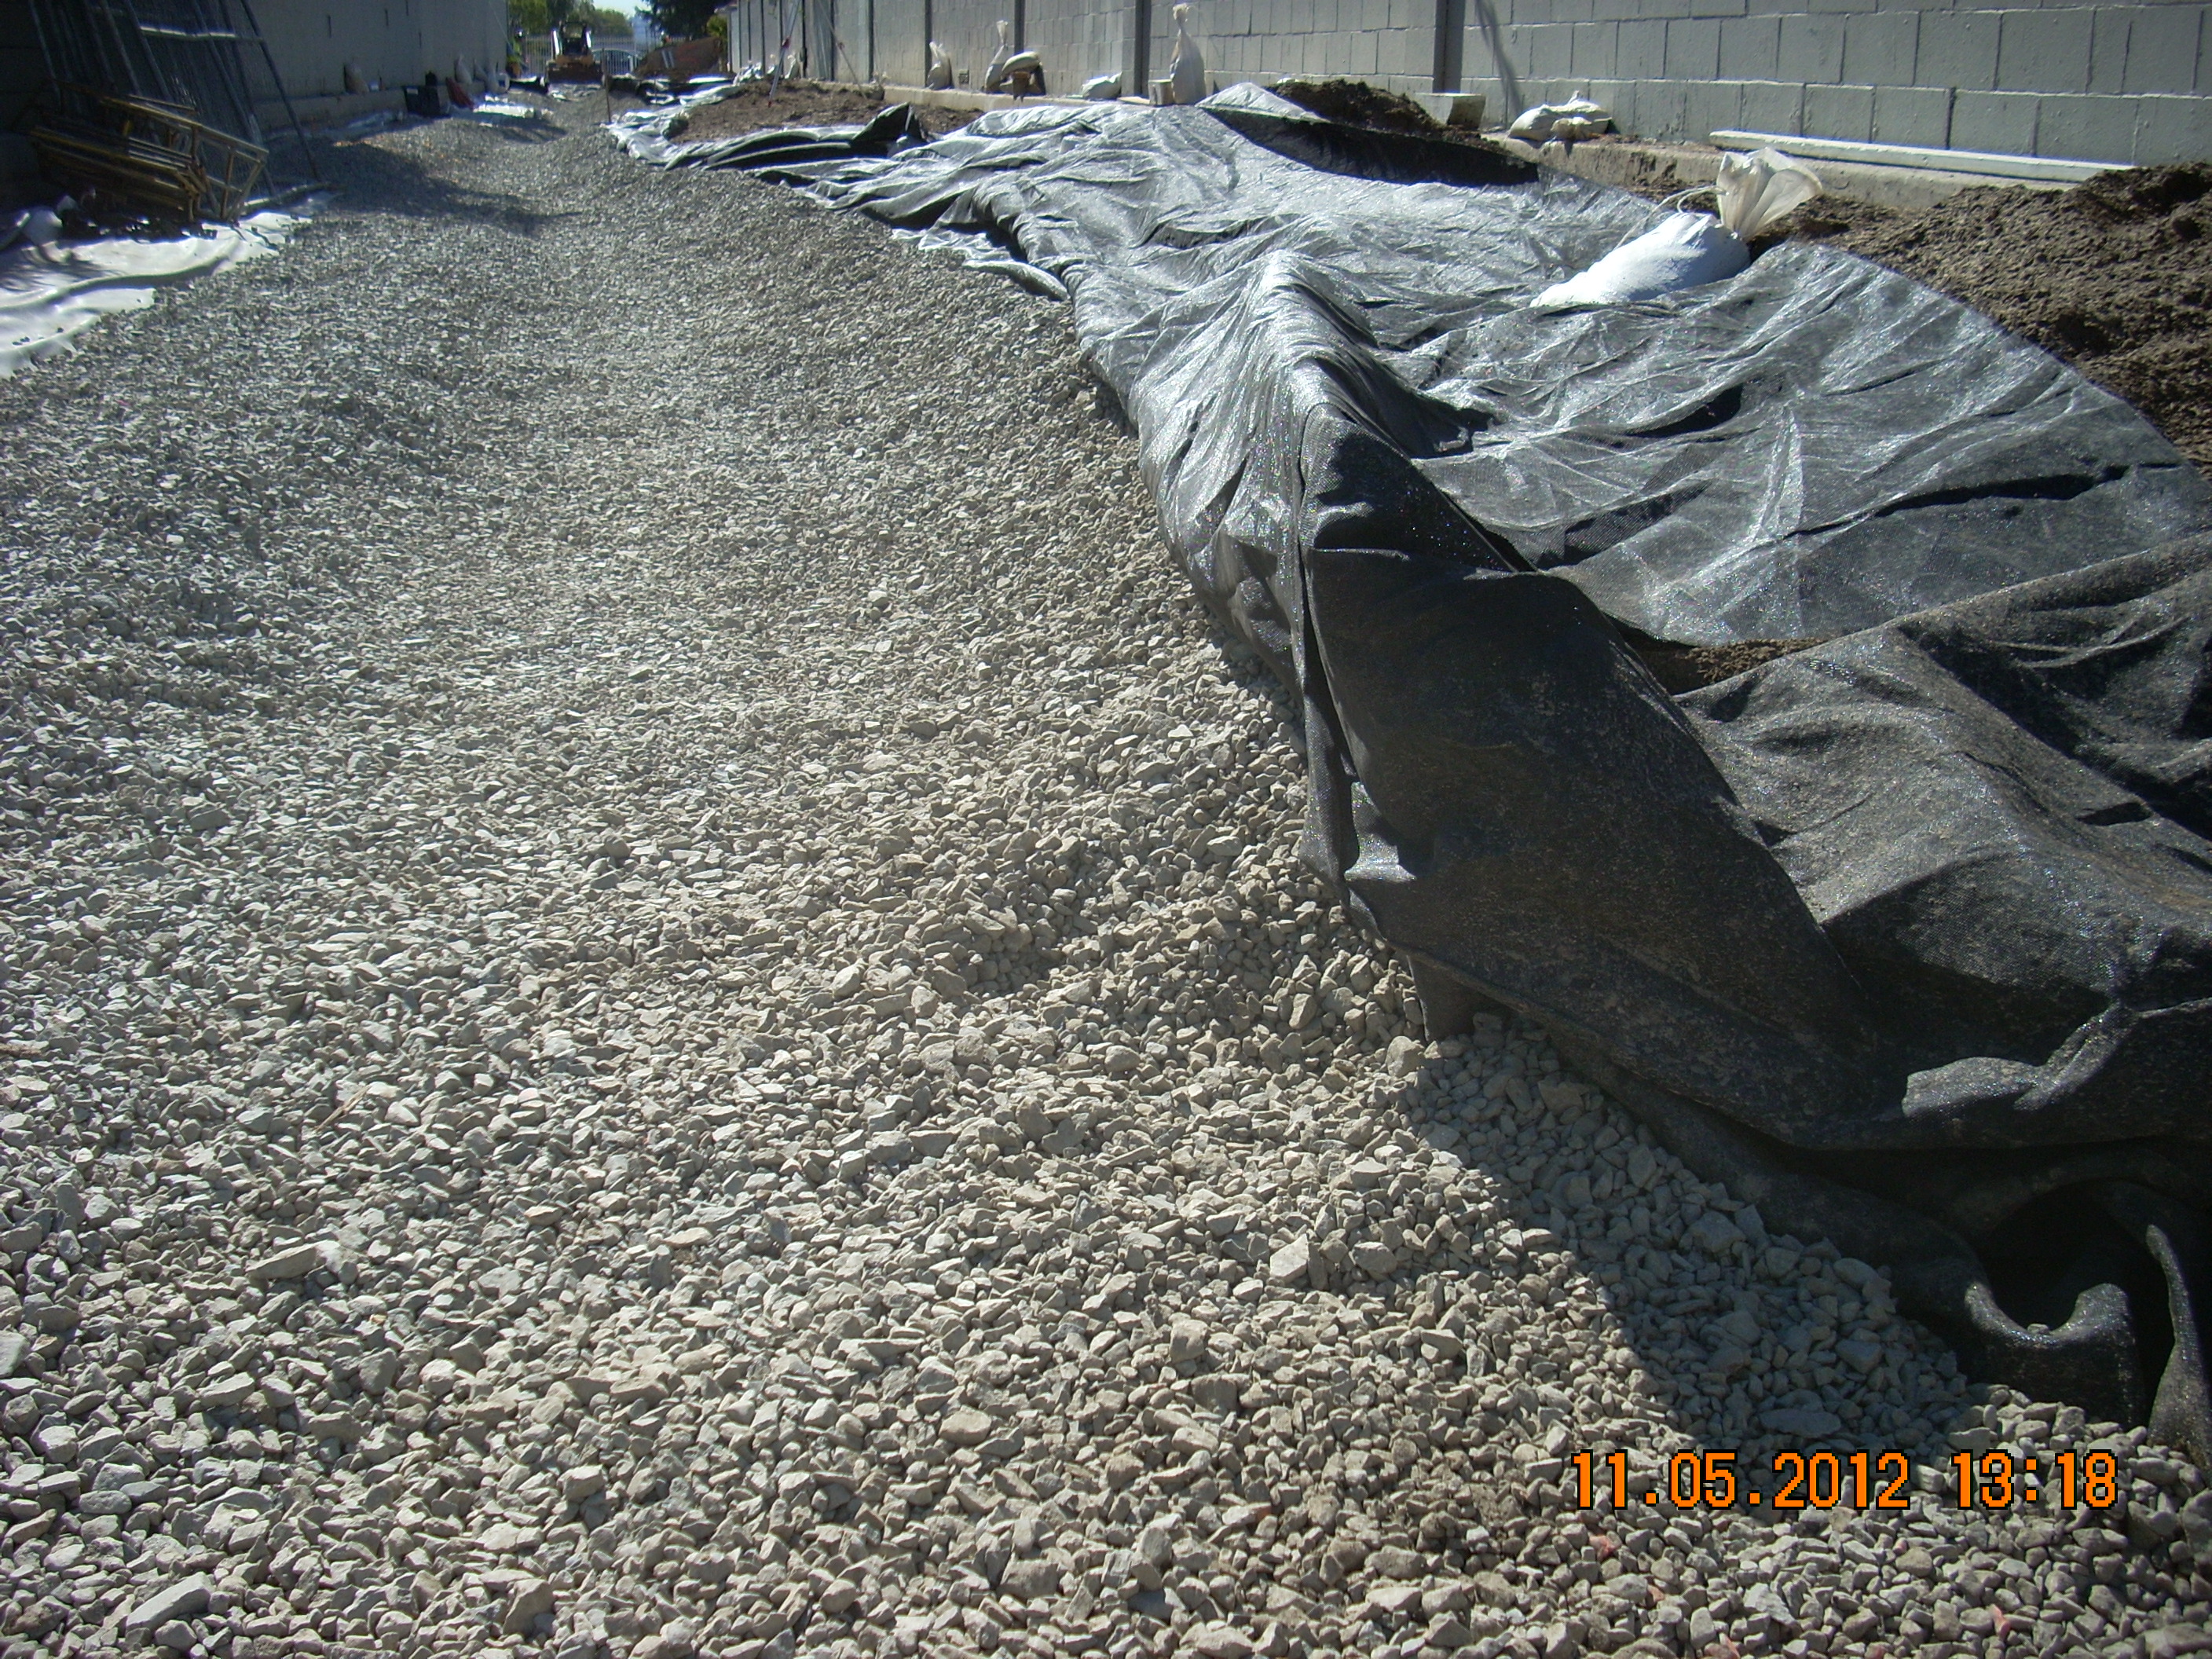
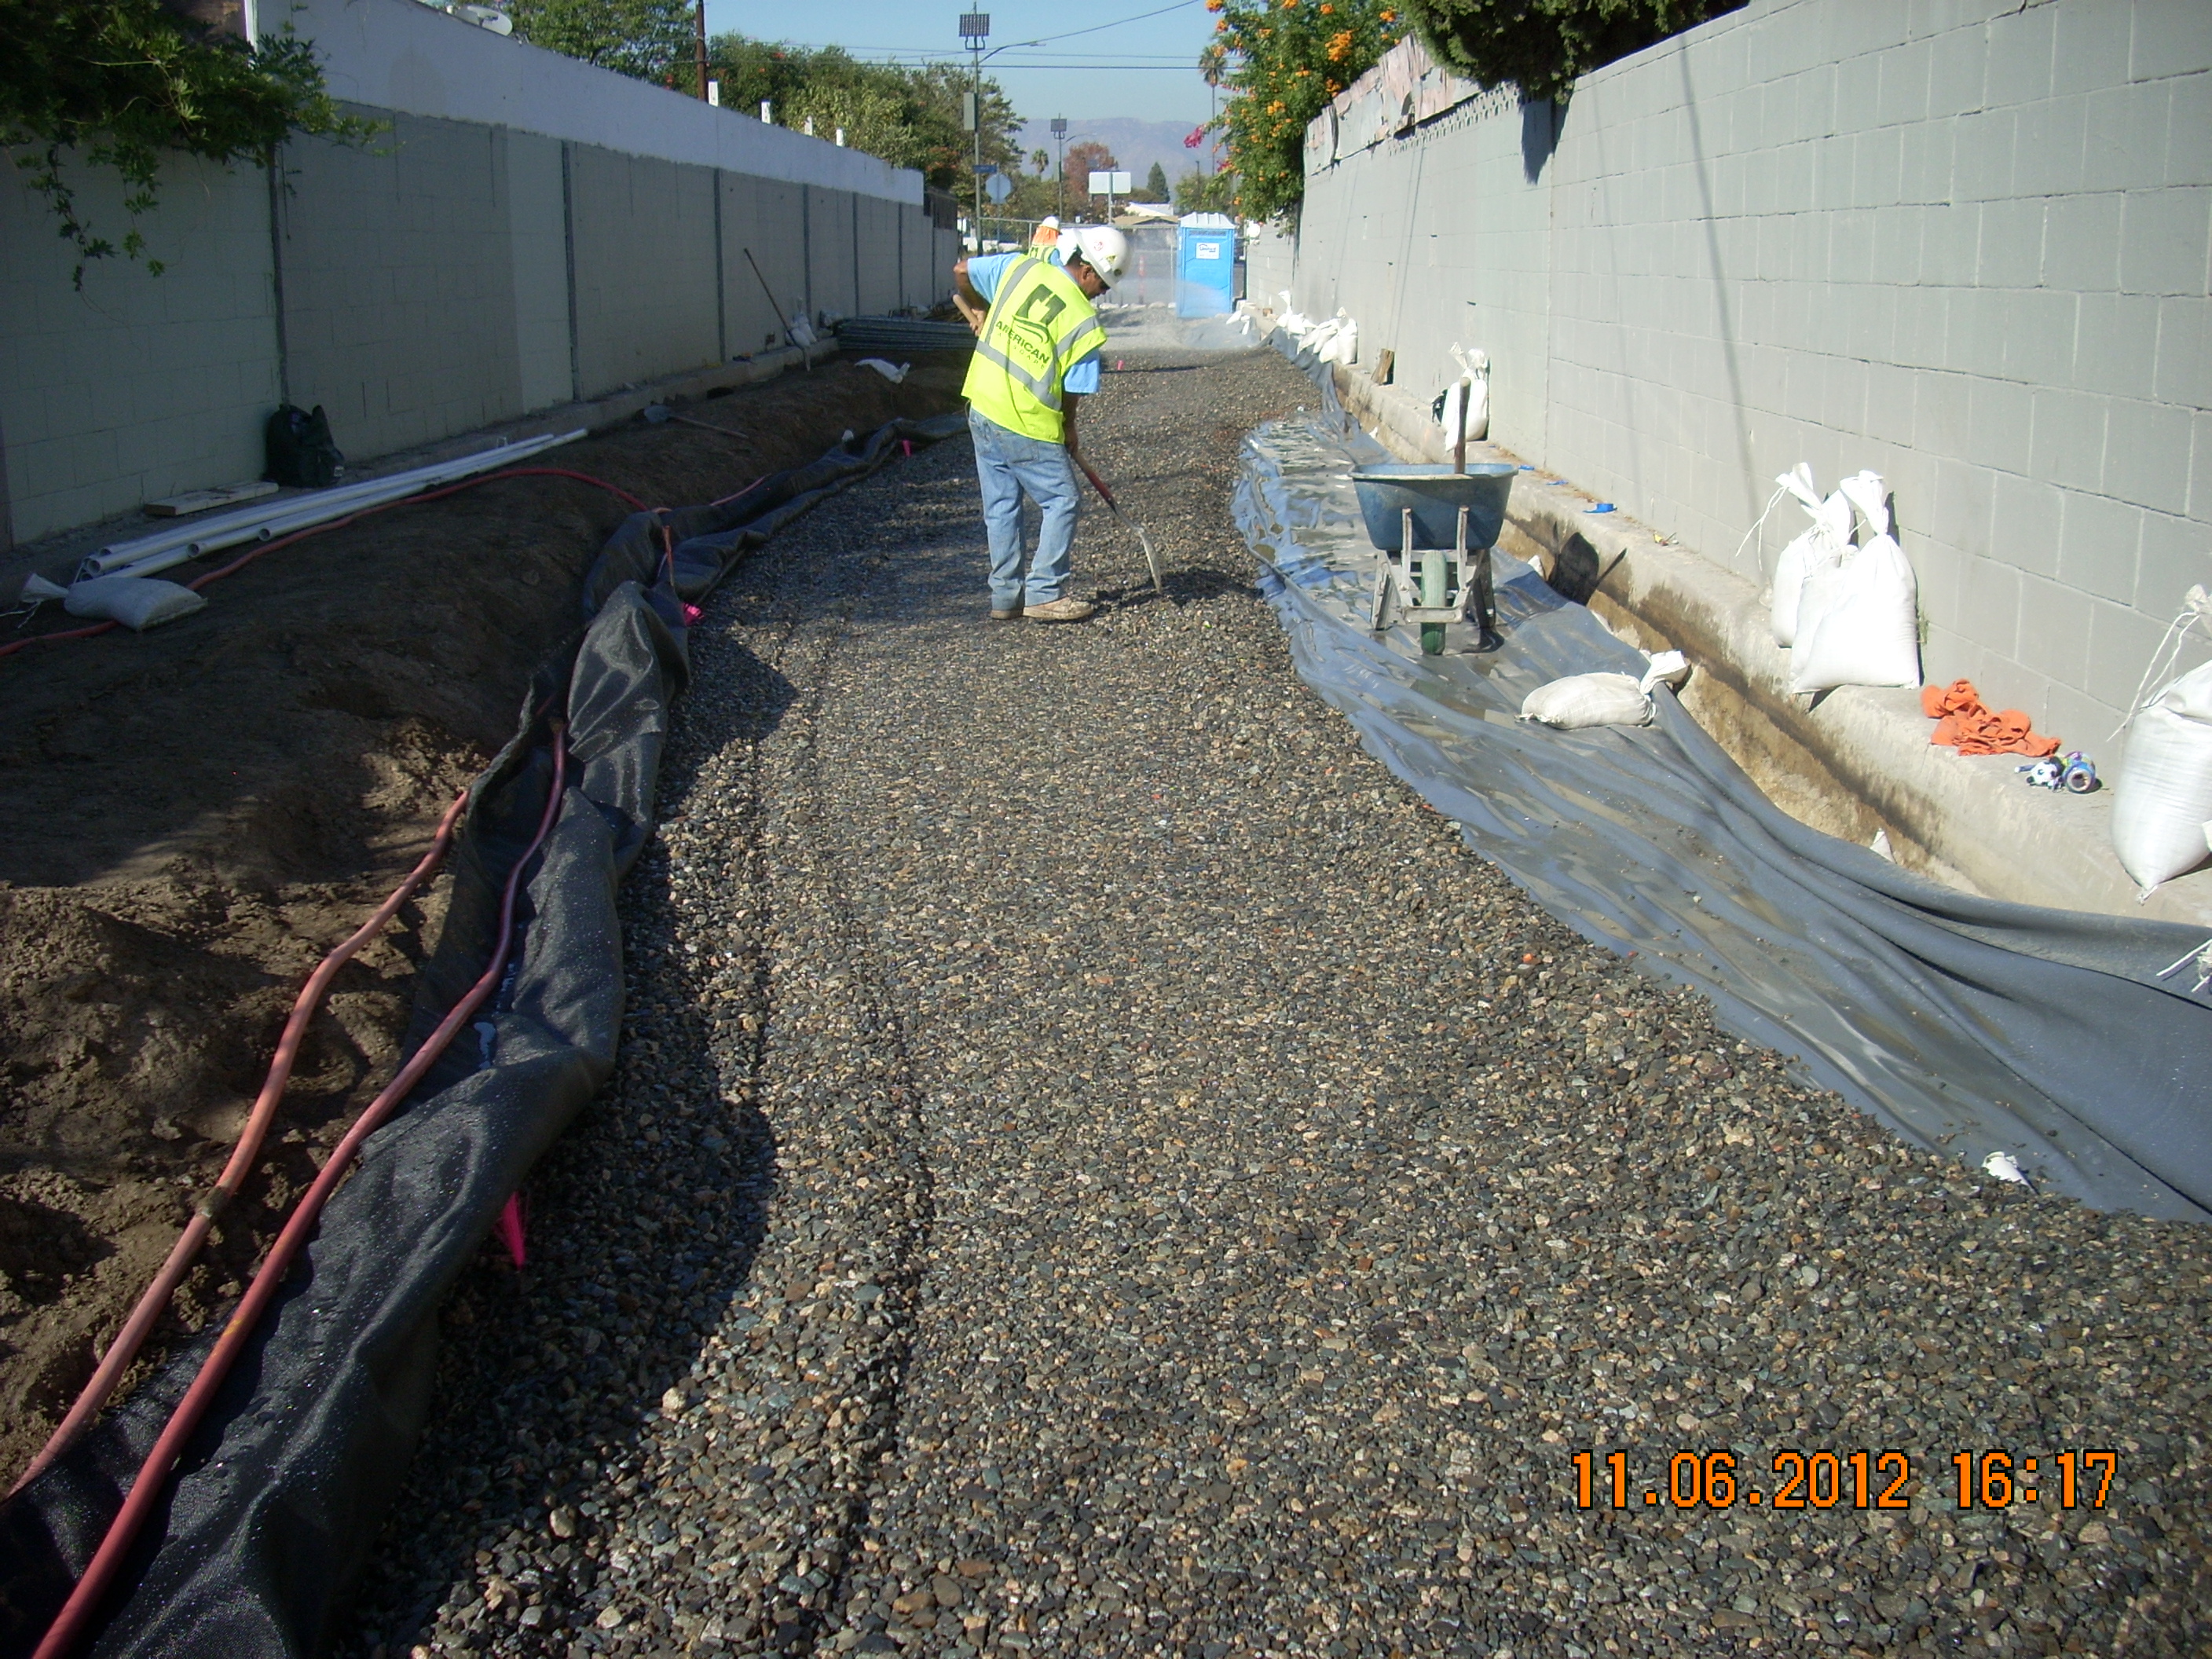
At the end of November, rain was predicted, and with an incomplee bio-swale, the crew protected the project site from sediment carried in runoff. Construction was halted for several days.

Preparing for rain

Preparing for rain

Rain delayed construction

Rain delayed construction

The storm was an opportunity to see how run-off would flow through the bio-swale.

When it was dry enough to work, the crew focused on completing the forebay and the weir apron.

Placing cobble in the forebay.
Cobble in forebay almost complete.

If you’ve ever wondered, bollards” are structural elements – often posts – that allow pedestrians access but block vehicles from entry. Bollards at the entries of the Paseo make it easier for pedestrians, strollers, and carts to acces the Paseo.

Placing the bollards
Making sure the bollard is level.

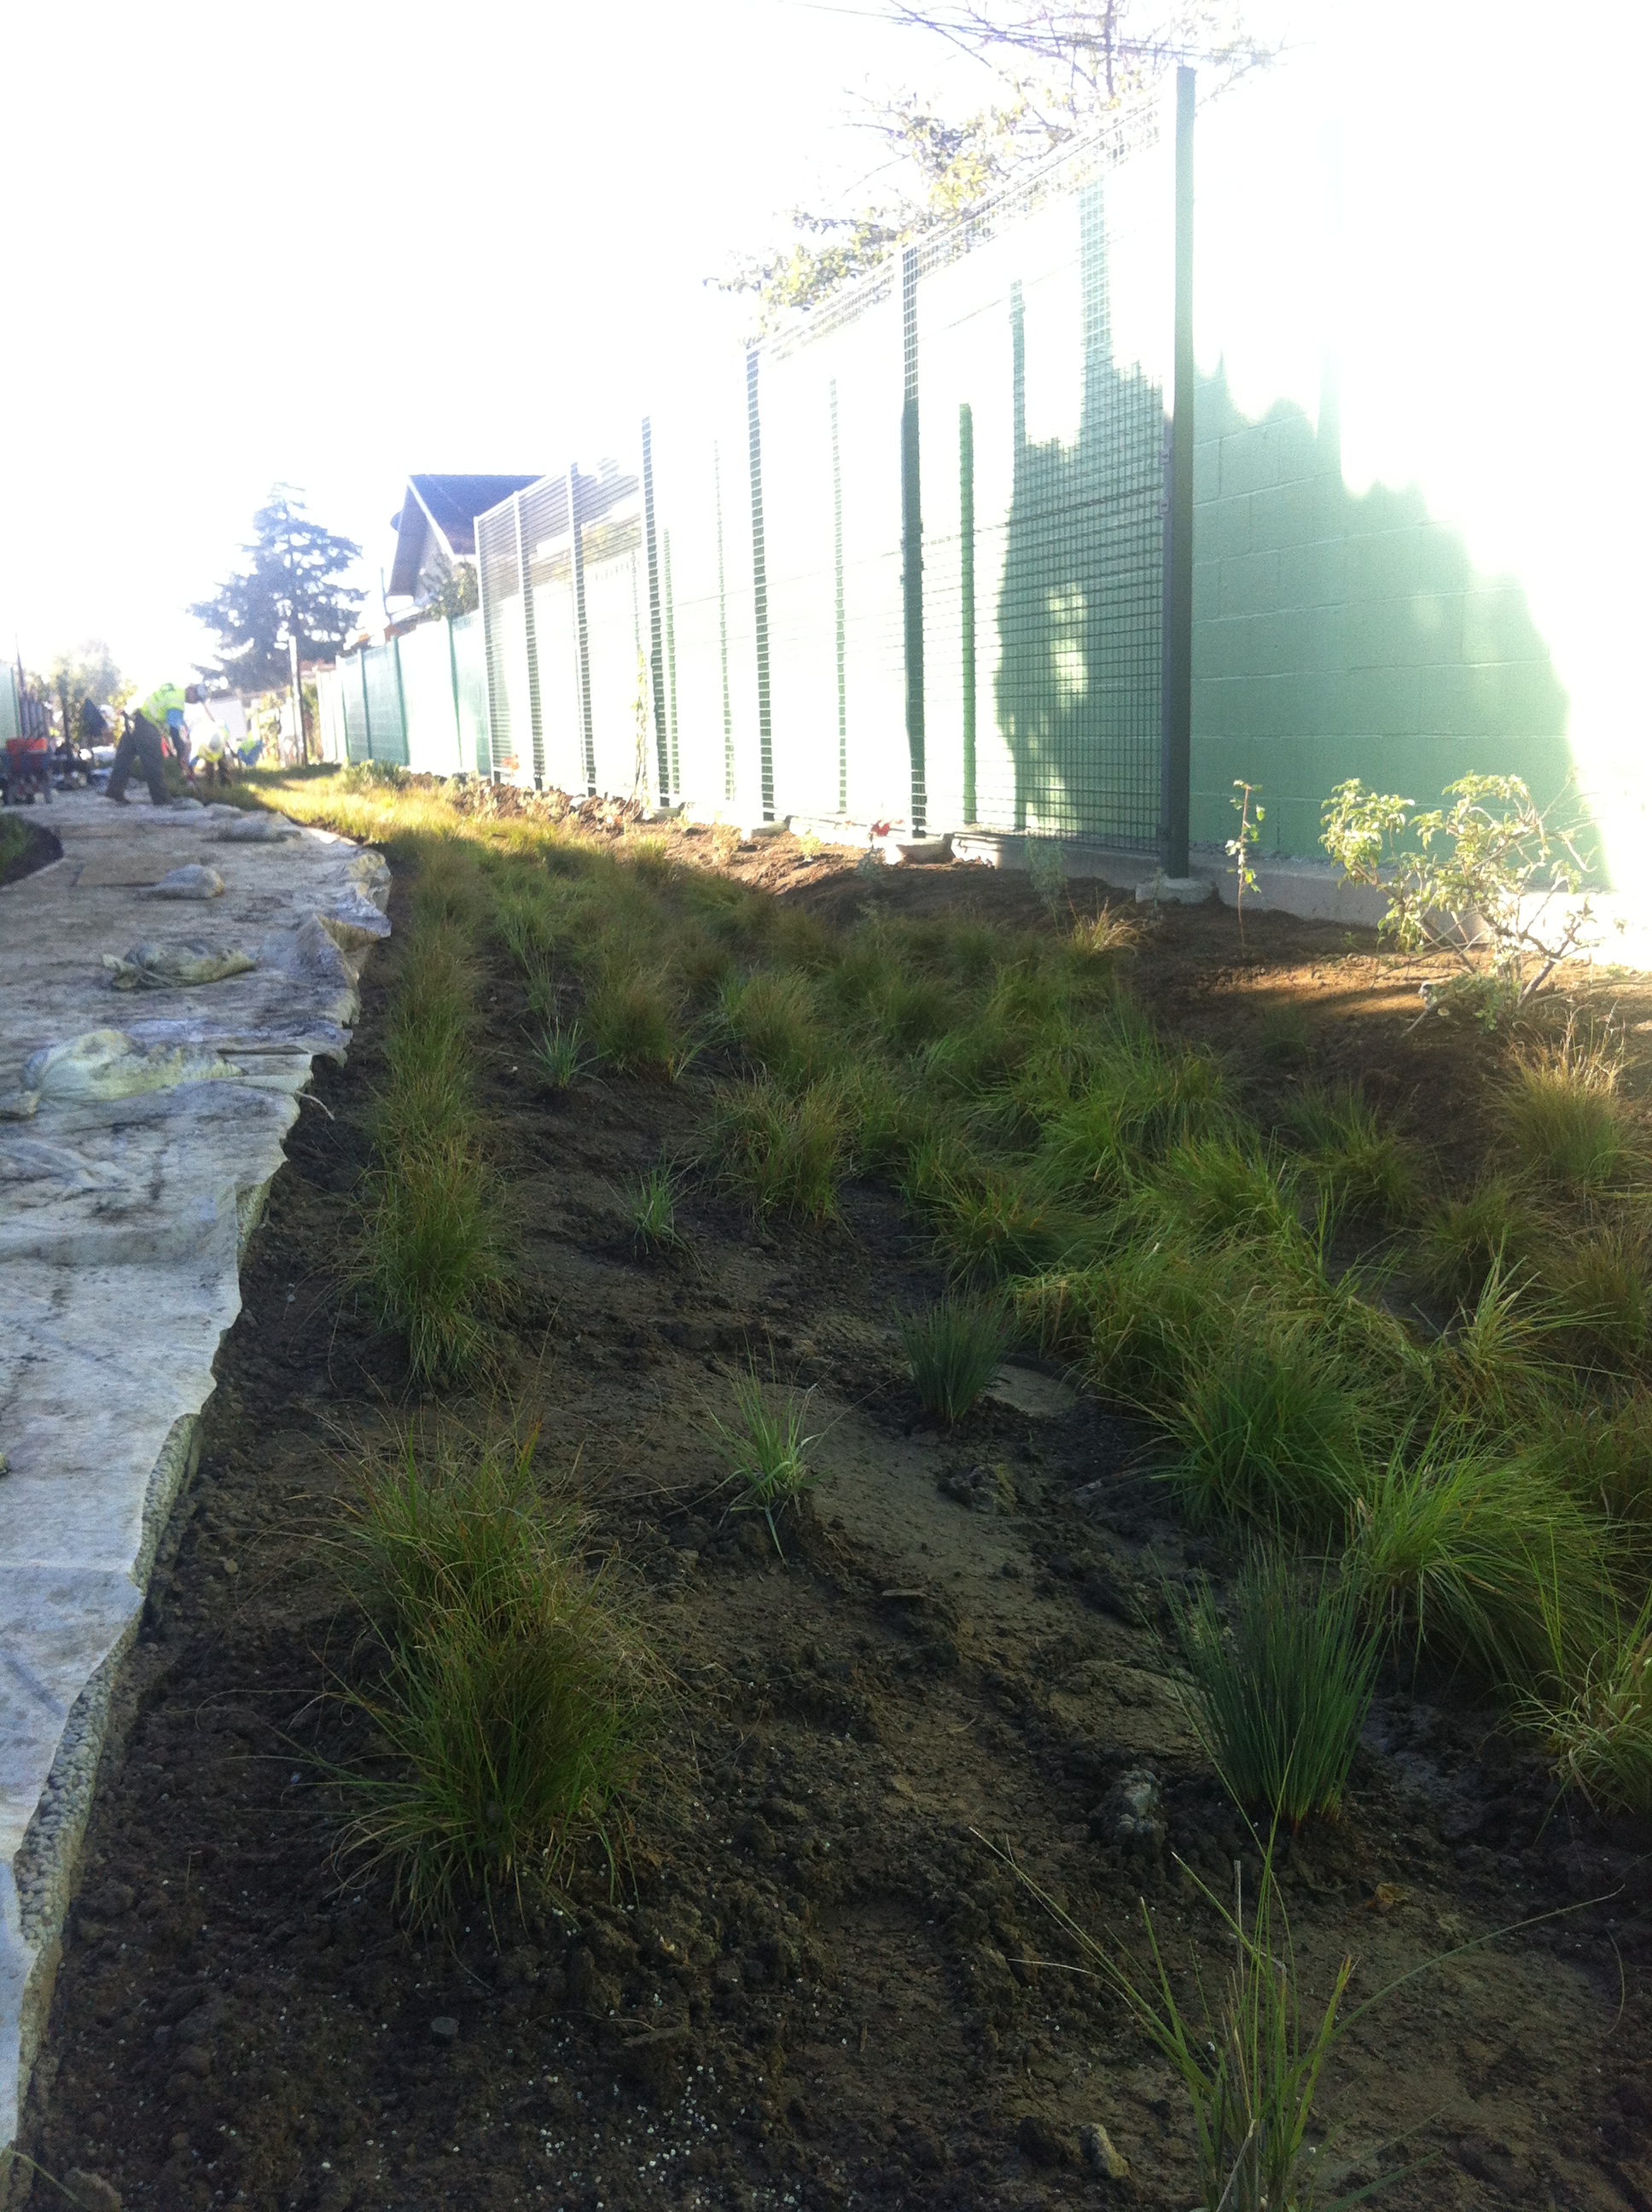
During the final days of construction, the crew installed the green screen, refined the eleveation points for the bio-swale, and planted more than 10,000 plants native to southern California.

A green screen provides a structure for native vines to grow and adds an element of interest to the length of the Paseo.

Installing the green screen.
Final bio-swale elevation points.
Placed, spaced, and ready for planting.
Native plants placed, spaced, and ready for planting.
Bio-swale planted…
…and mulched.

A resident appreciated the opportunity to test the “strollability” of the almost complete Paseo.

Testing the ‘strollability’.

The Paseo, ready for pedestrians and rain.

Paseo north entry

The Council for Watershed Health would like to express our appreciation to the residents adjacent to the Paseo and in the neighborhood for their patience with the various construction activities.

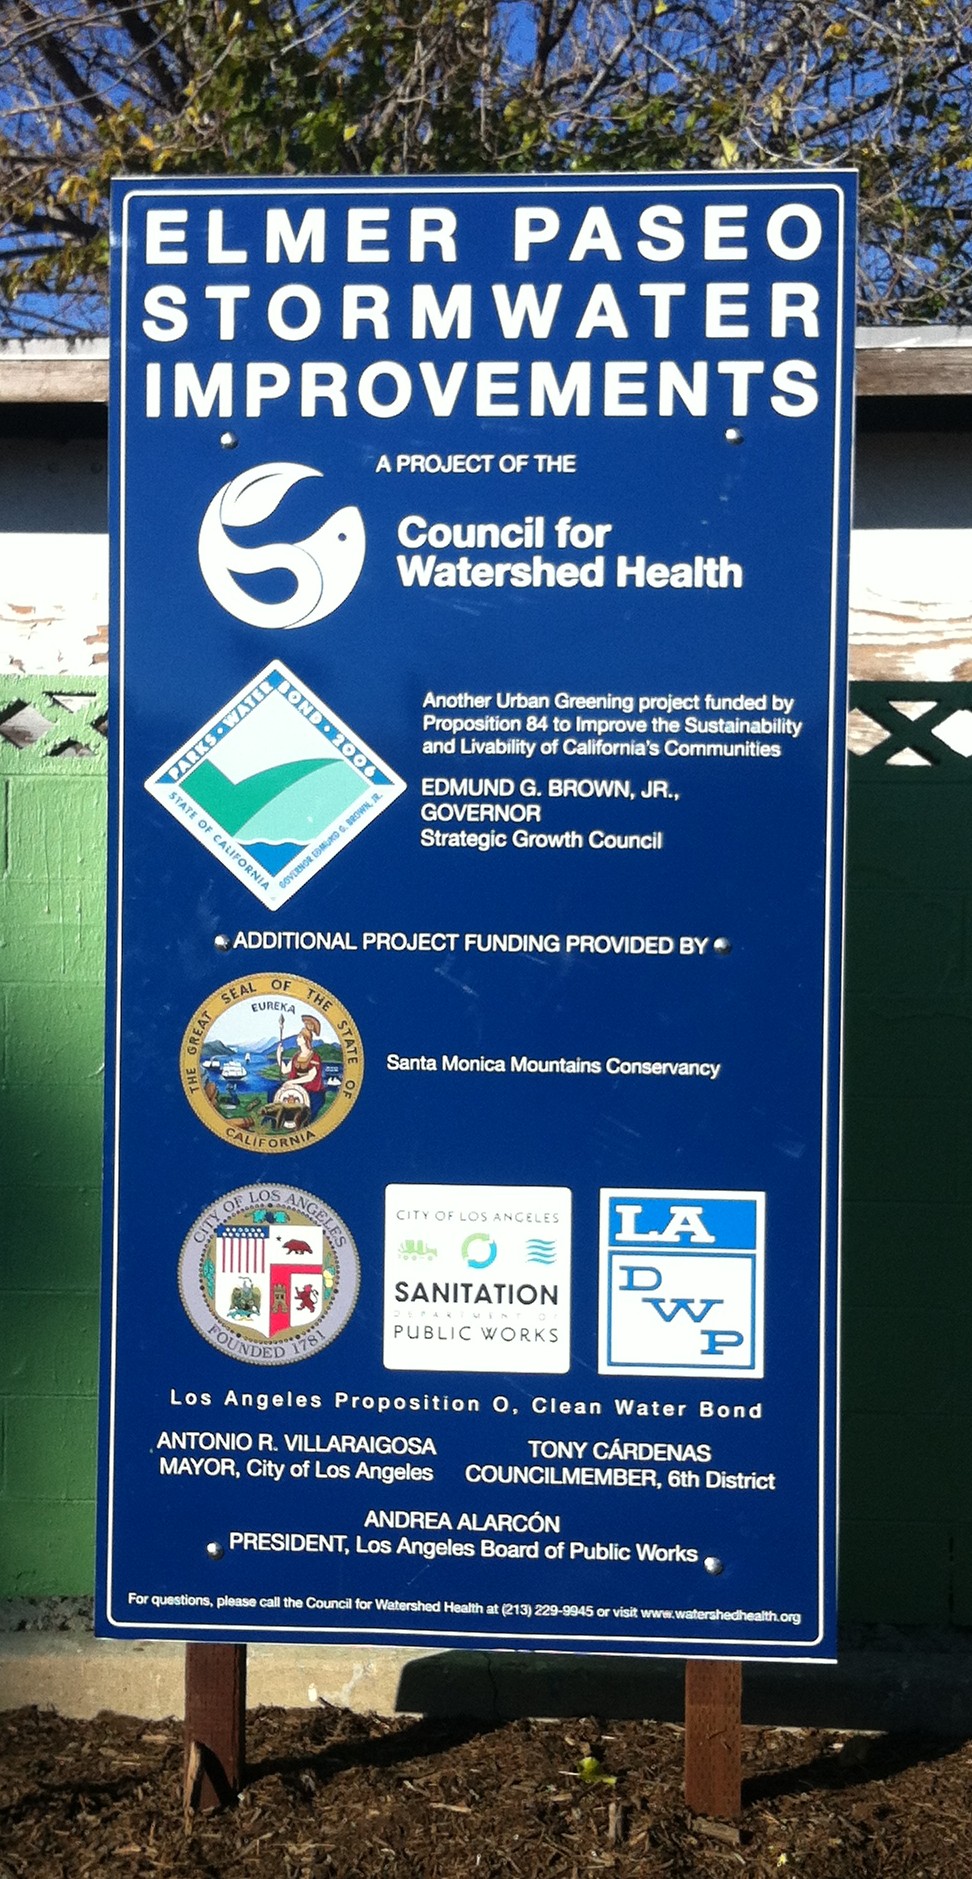
We also thank our project funders:

Urban Greening Proposition 84, Strategic Growth Councill, State of California

Santa Monica Mountains Conservancy

Proposition O, Bureau of Sanitation, City of Los Angeles

Department of Water & Power, City of Los Angeles

How to create a clean water alley, Part 4

Flooded Paseo North Entry BeforeAs we mentioned in an earlier post, the reason we are converting the Paseo into green infrastructure is because it receives water from about 20 upstream acres of land and the soils and geology are ideally suited to infiltration to groundwater. During larger storms, water picks up speed as it flows into the alleyway. Thus, we needed to design something to slow the water down before it hits the bio-swale.

The Forebay reduces the erosive force of water entering the bio-swale. It also allows sediment and litter carried with the water to settle out. The forebay elements include a river rock cobble bed, a weir, and a river rock cobble apron for the weir.

The river rock cobble bed at the forebay entry creates an obstacle course of sorts for the water entering the bio-swale; water slows down as it moves over and around the river rock cobble. Slow moving water is less likely to erode soil and has more time to soak into the soil – exactly what we want to happen in the bio-swale.

Concrete pour for weir

A weir is a low dam built across a water course to regulate the flow of water.  The weir is constructed of concrete and separates the river rock cobble bed from the bio-swale; it regulates the amount of water entering the bio-swale through the channel at the bottom of the weir and its low walls.  When there is a small volume of water, it will flow through the 12 inch wide channel at the bottom of the weir. When larger volumes of water enter the river rock cobble bed, water will continue to flow through the channel but the low wall of the weir will hold back water until it is at a height that it is allowed to spill over the walls. Eventually all the water moves through or over the weir.

The cobble apron on the down-side of the weir protects the bio-swale from the erosive force of water moving through the channel or spilling over the weir. When water flowing through or over the weir hits the cobble apron, its velocity or energy is dissipated or spread out over the cobble so the water entering the bio-swale is moving at a slower, gentler rate that is less likely to cause erosion.

Before the river rock cobble bed and cobble apron could be constructed, we needed to complete construction of the concrete entry and weir. The construction crew refined the grade elevation points for the entry, forebay, and weir. The concrete pour for the entry and weir went smoothly. We have a few more steps to get through before you can see the finished forebay, however, so hold on for more.

Concrete pour for entry

to be continued

How to create a clean water alley, Part 3

Now that the infiltration trench and bio-swale have been constructed, it is time to lay the sidewalk, which goes on top of the infiltration trench. How’s that, you say? Putting a sidewalk on top of the place where water is supposed to soak in? For the Paseo, we installed pervious concrete but even if we had used regular cement, it still would have worked as the system is designed to receive water from the bio-swale underground.

The Pervious Concrete Pathway winds its way from one end of the Paseo to the other, providing a pleasant and safe path. Pervious concrete has ‘voids’ or gaps that are created when the fines are removed from mix thereby allowing water to flow through the concrete. Water falling on or over the pervious concrete will flows through these spaces to the infiltration trench below it. To begin construction of the Pervious Concrete Pathway, a course of gravel was spread out over the infiltration trench and areas of the exposed impervious liner.

DSCN2844

Unlike Portland cement concrete, pervious concrete sets up quickly. Many hands were needed to pour, spread, smooth, and score the concrete. The choreography of material and work was impressive that day and kudos to Rudy and his crew at J&M Contractors for a pathway many will enjoy.

To aide in the curing process and protect from errant soil or debris, the completed pathway was covered with plastic sheeting. Below you see the completed pervious pathway along with one of the landscape boulders.

Next up is construction of the Forebay, an important element of the design to protect the bio-swale from erosion and clogged soil.

To be continued

How to create a clean water alley, Part 2

In Part 1, we showed the initial steps in constructing the infiltration and bio-swale. Part 2 illustrates the complex choreography of marrying the infiltration trench and the bio-swale.

The majority of water entering the Paseo will be directed to the bio-swale, which will filter and allow water to infiltrate the soil and migrate to the infiltration trench.  To maintain the function of the infiltration trench, we need to prevent soil from the bio-swale from filling in the voids and gaps. A geotextile – a tightly woven material – both helps prevent soil from moving into the infiltration trench and allow water to move into the trench.

The crew placed a layer of geotextile on top of the base layer of gravel and marked it to indicate where the edges of the infiltration trench and the bio-swale met.  One side will have soil and the other will have gravel.

The challenge when backfilling the trench with gravel and the swale with soil is to maintain the vertical edge of the geotextile. To achieve the vertical profile of the geotextile, the crew placed plywood on edge to create a vertical guide. On one side of the plywood, a course of bio-retention soil was placed, then the geotextile that lay in place on the trench was “flipped over” the plywood guide to ‘cover’ the bio-soil layer and a course of gravel was spread out, then the geotextile was ‘flipped over’ the course of gravel and a layer of bio-soil spread out.

This sequence continued until the heights of the bio-soil and the gravel met the desired elevation points. The crew started in the center of the Paseo and worked out toward either ends of the Paseo. Kudos to the Paseo’s Field Superintendent Jose Esquivel, American Landscape, who masterfully choreographed the complicated logistics required for the delivery of gravel and soil and the work of spreading the materials.

To be continued next week.

How to create a clean water alley, Part I

The Elmer Paseo is all but complete – we still have some finishing touches to add so it won’t be officially open until the new year. For all of you stormwater geeks, following is a photo essay showing how to create a clean water alley.

The Infiltration Trench and the Bio-swale. These two main features needed to be constructed simultaneously and included some challenging logistics. Down the center of the Paseo, the construction crew excavated a 4 foot deep trench which exposed the sandy native soil that is ideal for infiltrating water. Next they had to apply a layer of clean sand to help maintain consistent infiltration the entire length of the trench.

To protect the adjacent properties from water migrating toward their properties, workers installed an impervious liner along both sides of the existing wall, creating a funnel of sorts to direct water toward the open bottom trench.

Next, workers backfilled the 4’ deep trench  with rough angular gravel, which creates voids or gaps between the rocks which allow water to collect and flow through the gravel to the bottom of the trench where it will infiltrate to the native soil. Smooth rocks will ‘lock’ together, preventing the formation of voids and gaps for water to collect.

To be continued

What’s next for green streets? How about green alleys!

Imagine living next to a blighted alleyway. You’d like to use it to walk to church or school or the bus stop, but it’s unsafe and ugly. This is the situation that used to exist in the Elmer Avenue neighborhood. Step one was just cleaning up the Paseo so people could use it again – getting the abandoned cars towed, adding a light, and painting over the graffiti. Thankfully, the City of Los Angeles took the first step in making the Elmer Paseo a safer walkway back in 2009.

But, the Paseo still flooded, making it unusable and unsafe many days of the year. This year, the Council for Watershed Health took the next step.

In October, out came the asphalt paving and in went the construction crew to begin excavation for a new Paseo that will capture between 1.3 to 1.9 million gallons water annually, provide a safe and comfortable pedestrian connection to local goods and services, reduce localized temperatures, attract birds and butterflies, and raise community awareness about their local watershed.

Stay tuned for regular construction updates!

Let a Thousand Community Parks Bloom

Old Marengo Park April 2010

We don’t have enough parks in Los Angeles. Given the expense of land and the reality of built-out cities, we need to think about how we can create more parks in urban areas. We need to be creative in converting even small scraps of vacant land into places where people can enjoy nature, walk their dogs, and play. Almost five years ago a small group of people in Altadena got the idea to turn a small barren bit of dirt into a park for the community. Just 8,000 square feet and owned by the County’s Roads Division, the parcel was too small to be a true park. Also working against it, the land was on the border of Pasadena and Altadena – in the unincorporated County but with water from Pasadena. But this neighborhood had no park and thus the idea was borne – why not create a “pocket park?”

A neglected County property, circa 2006

Michele Zack, who had recently taken a “Watershed U” course run by the UC Cooperative Extension, decided the property would be ideal for construction of a “water-wise” pocket park. She found out the Metropolitan Water District was offering grants and she convinced the Arroyos & Foothills Conservancy (then Altadena Foothills Conservancy) to apply one.I got involved in this project before I was even working for the LA & San Gabriel Rivers Watershed Council, as the president of AFC.

The design included native, drought-tolerant plants designed to bring the mountains into the city, and dry wells to collect and percolate all of the rainfall, eliminating sheet flow runoff from the site.

Dry well installation

Several more grants and lots of hard work later, the hard, barren ground is blooming. We wanted to demonstrate low-water use gardening that people could replicate in their own yards. The park was completely a volunteer, community-led project from start to finish. It would not have happened, however, without the support of Supervisor Michael Antonovich and Metropolitan Water District. Mountain View Cemetery, Foothill MWD, Pasadena Water & Power, plus the members of Neighborhood Church were also major supporters. The list of supporters is long.

Here are a few more photos of the park, which is at the intersection of Marengo and Woodbury. We named it “Old Marengo Park” to acknowledge its origin as left over land when Pasadena and the County aligned Marengo Avenue. What neglected scraps of land can you turn into a park in your neighborhood?

Old Marengo Park, April 2010, looking west
Old Marengo Park April 2010 flowers